
Materials: Scrap HTV in your desired color(s) Hair straightener (preferably one you don't use for your hair anymore) Craft weeding tool (or a safety pin) Scissors Squeegee (or credit card)…
Read MoreCreative Projects/Instructions/Hacks
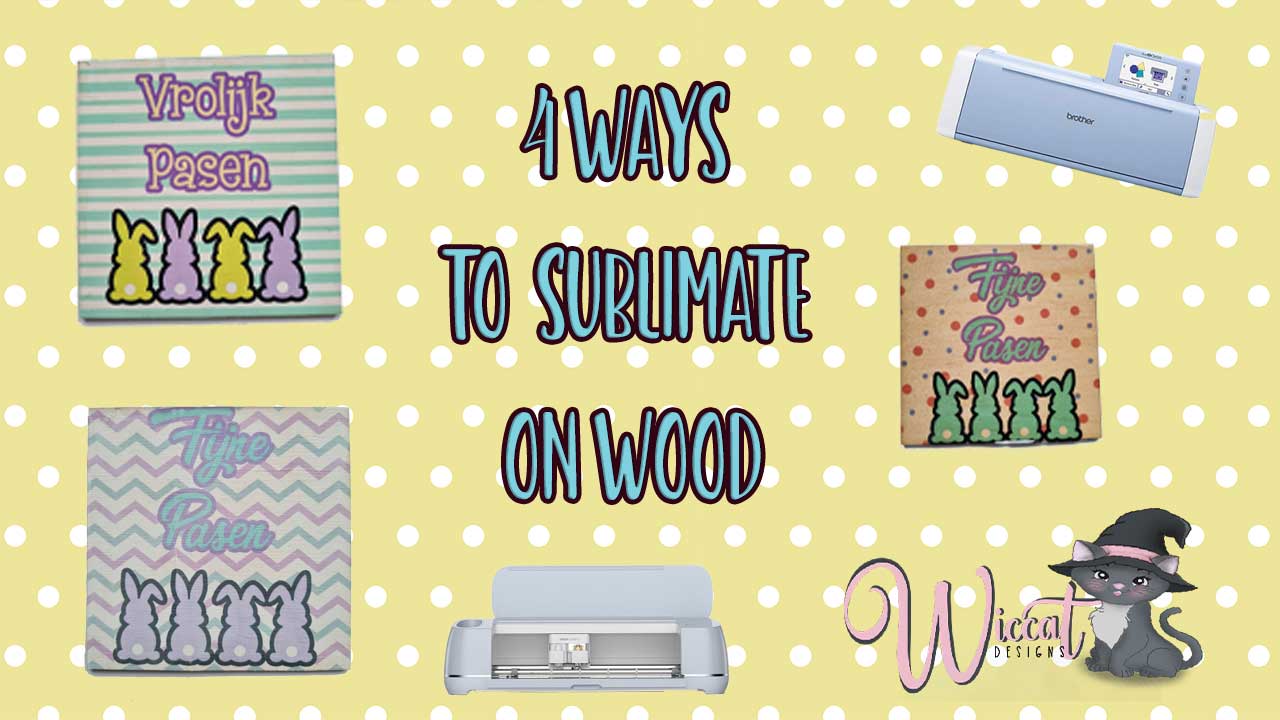
Have you ever wanted to personalize wooden crafts with vibrant designs? Look no further than sublimation! In this video, we'll explore 4 EASY methods to sublimate directly onto wood, no…
Read More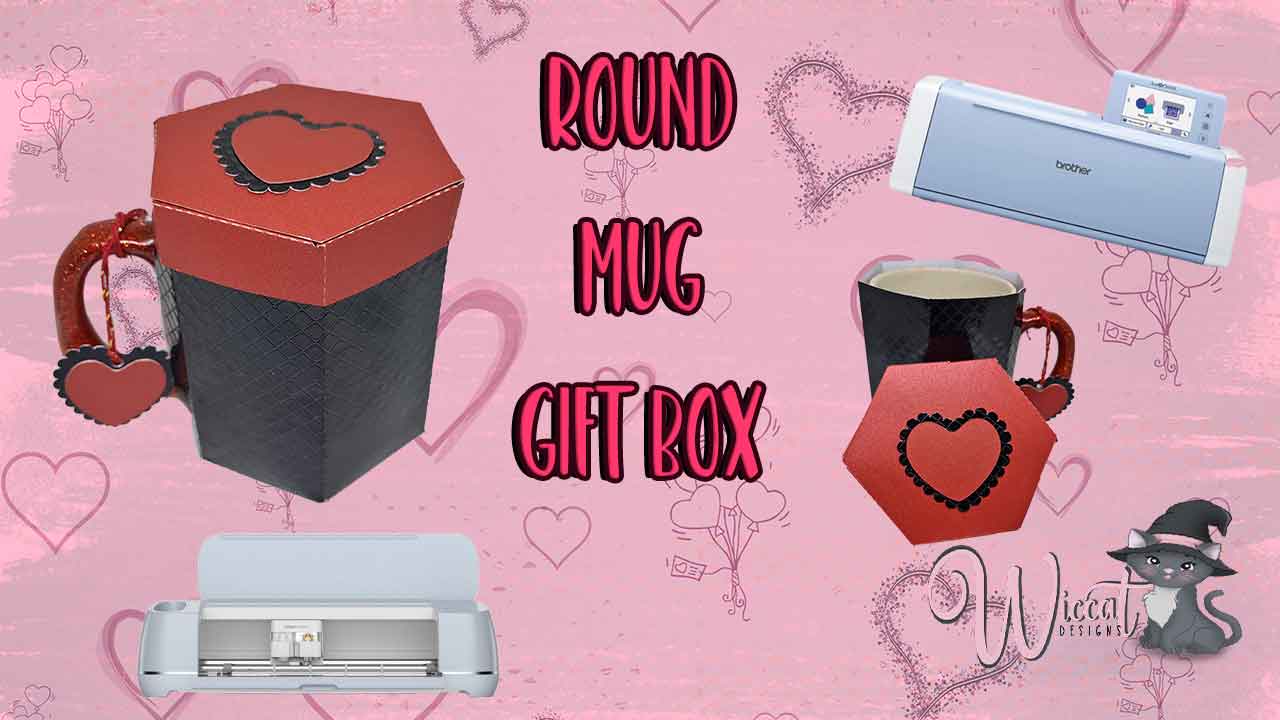
This tutorial will guide you through creating a charming round paper mug gift box with a lid using two different colored cardstock papers and your cutting machine. It's perfect for…
Read More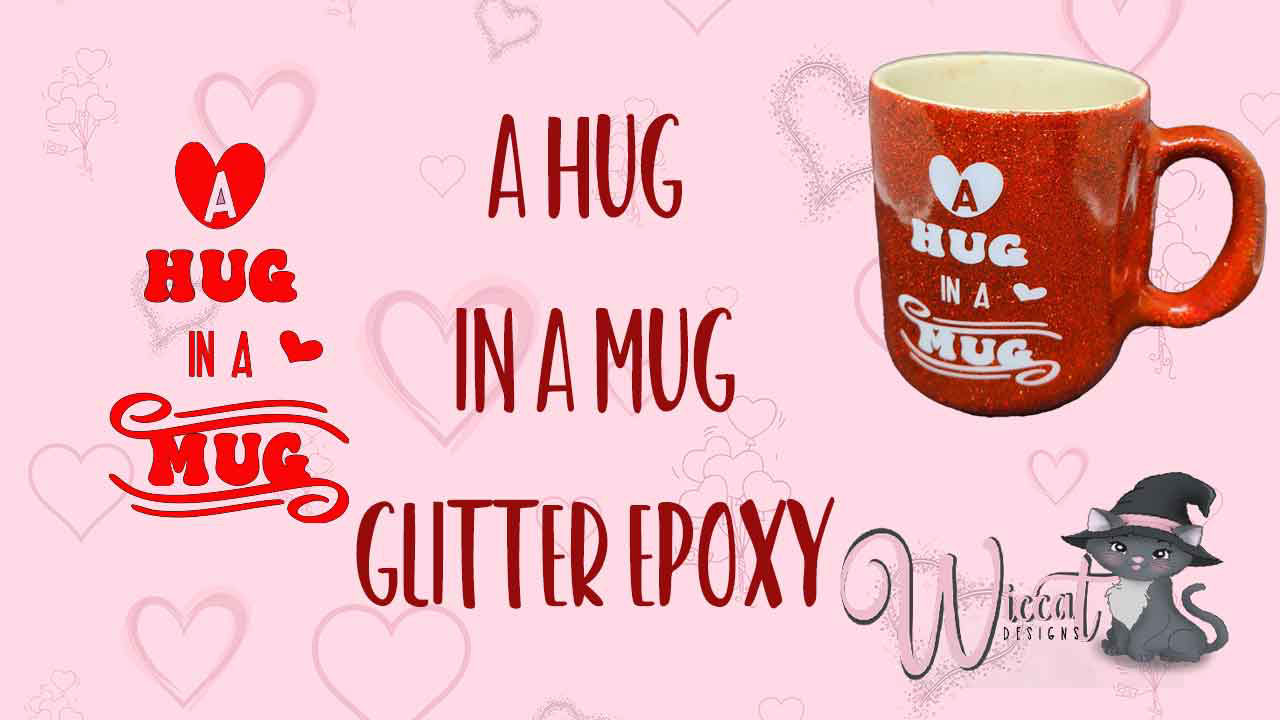
Tired of that old, chipped mug lurking in your cupboard? Well, get ready to say goodbye to boring and hello to GLITTER BOMB! ✨ In this video, we're taking an…
Read More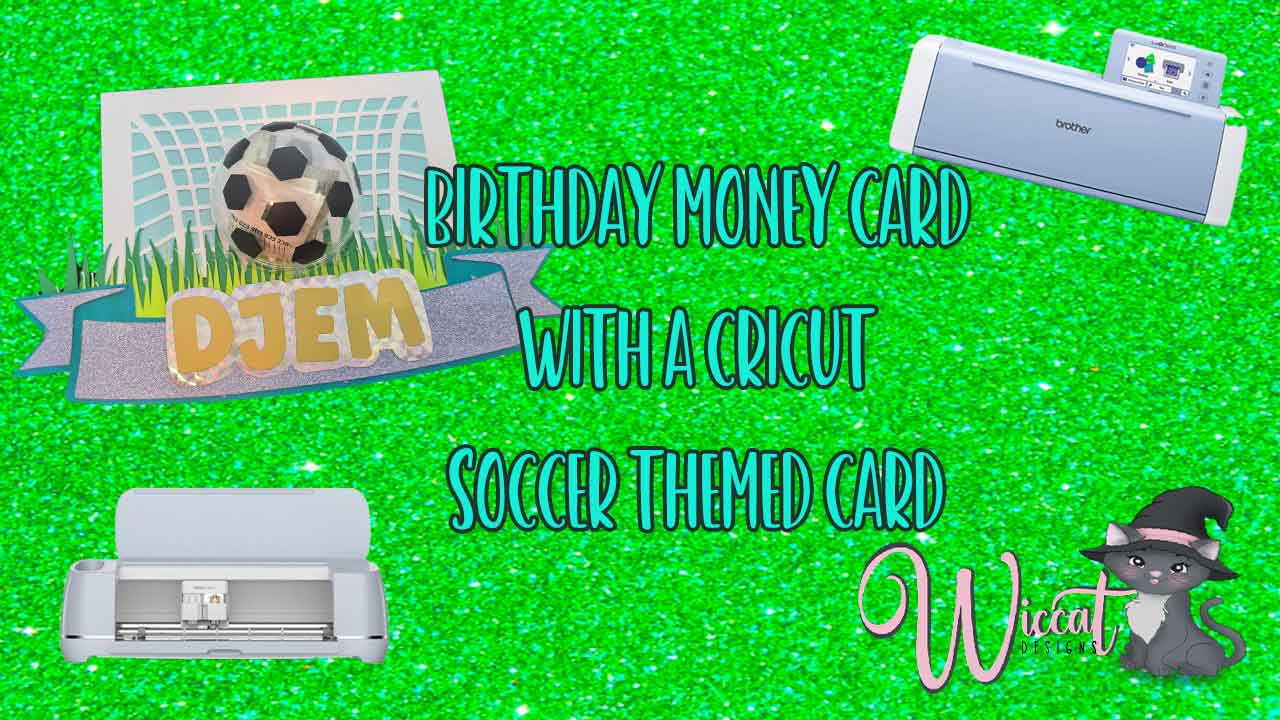
Calling all soccer enthusiasts! Celebrate the birthday of your favorite soccer fanatic with a personalized soccer-themed money birthday card made with your handy Cricut machine. This fun and creative DIY…
Read More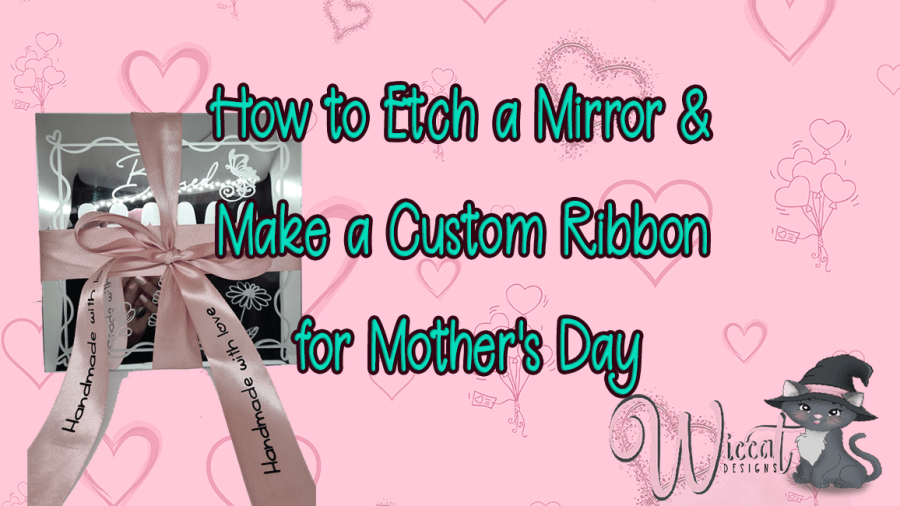
DIY: A Beautiful Etched Mirror with Personalized Ribbon for Mother's Day Mother's Day is just around the corner, and what better way to show your love and appreciation for your…
Read More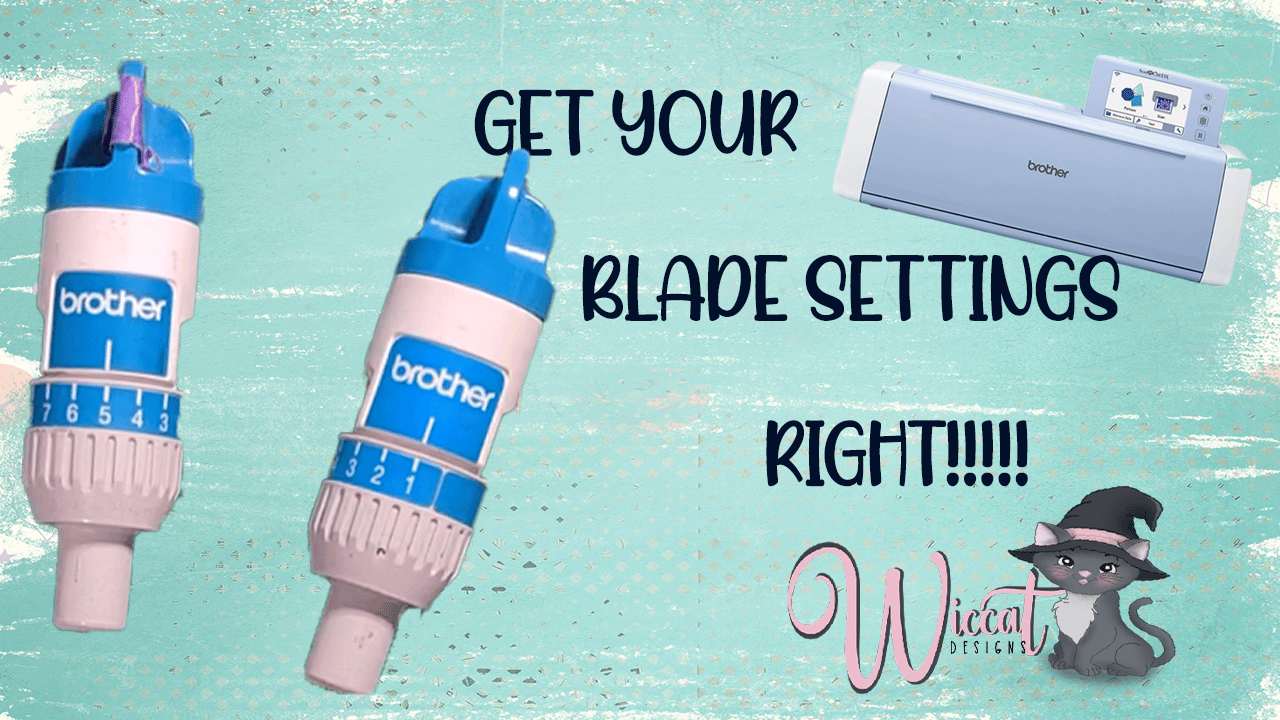
Blade holder scanncut Have you ever struggled with the blade holder settings on your ScanNCut machine? It can be frustrating to constantly hear that the settings are variable, especially when…
Read MoreSpiral Pictures who hasnt seen them. It looks kinda tricky but it isnt as hard as it seems. It al starts with a cute an perfect picture Spiral Betty is…
Read More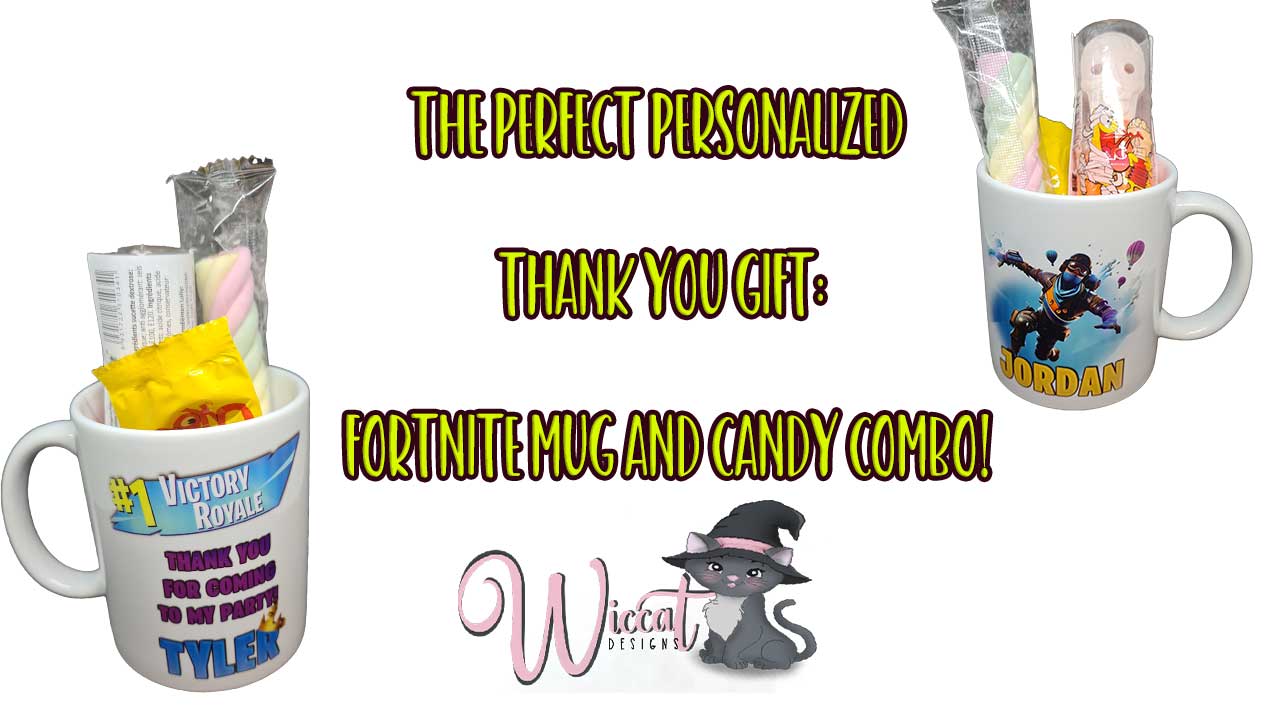
Finding the perfect thank you gift can be tricky. You want something personal, but also something they'll truly appreciate. Well, fret no more! This blog post unveils a gift combo…
Read More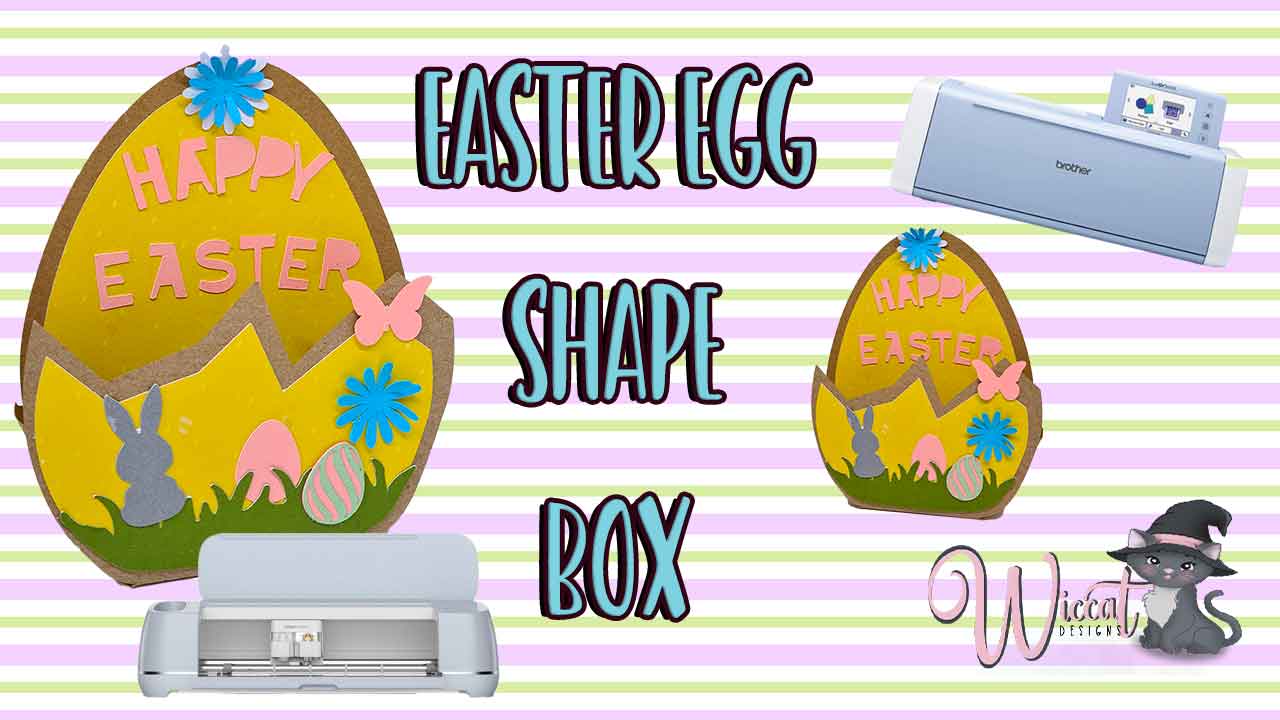
Spring is in the air, and Easter is hopping around the corner! This year, ditch the boring store-bought favor boxes and create these adorable Easter egg shaped ones with your…
Read More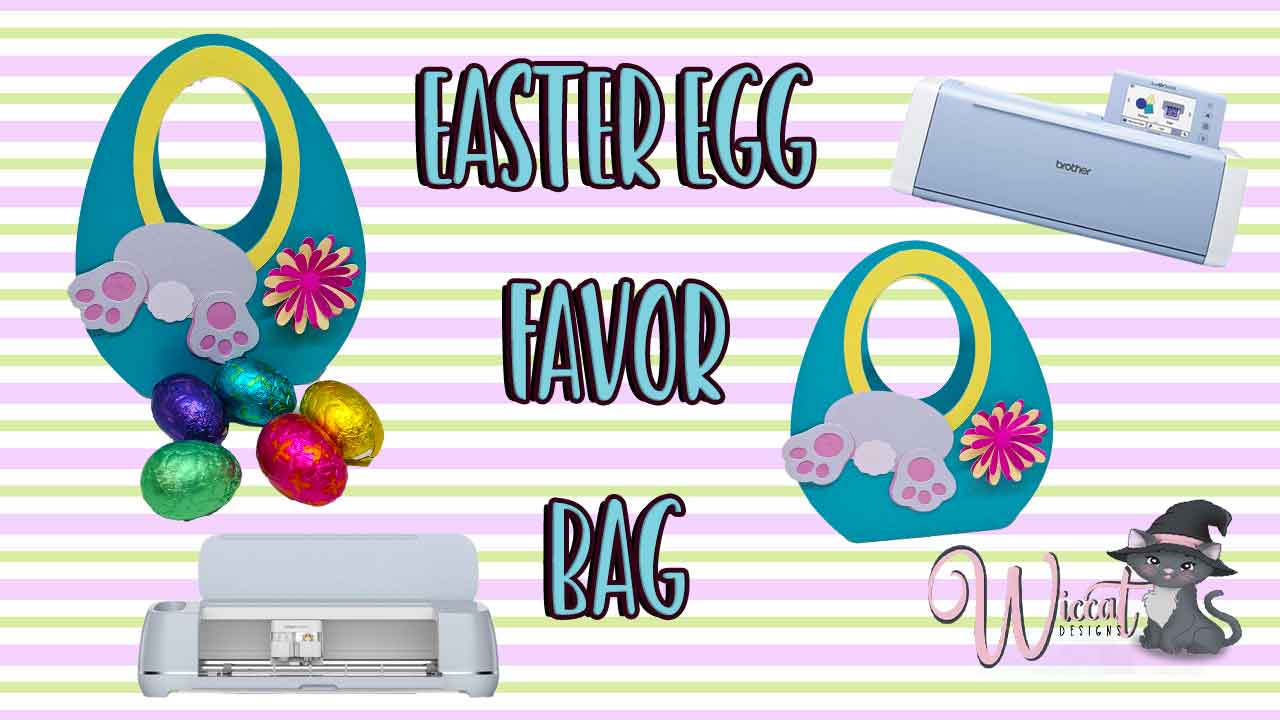
Get ready to add a touch of whimsical fun to your Easter celebrations with these charming paper Easter egg favor bags featuring a peeking bunny bum! This project is perfect…
Read More