
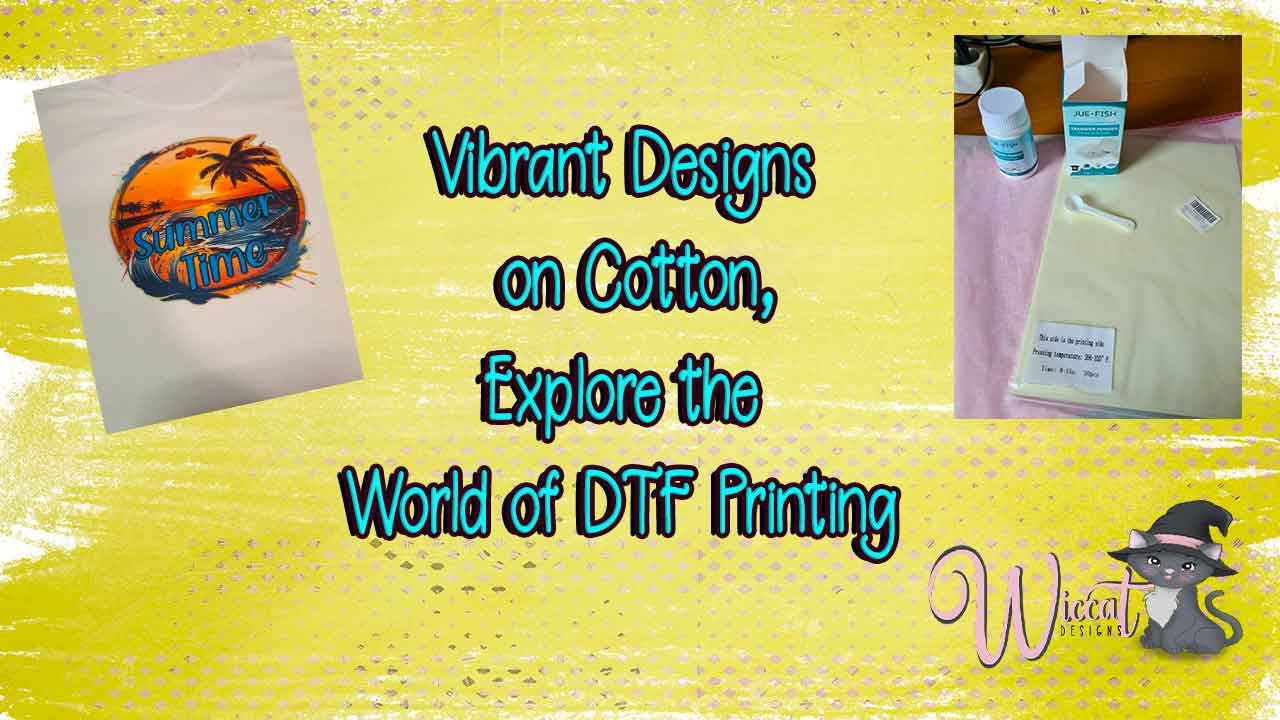
Ever wanted to customize your own t-shirts with vibrant designs? DTF printing, also known as Direct to Film, might be the perfect solution for you! It’s a fun and surprisingly easy way to create professional-looking prints on a variety of fabrics.
Are you ready to jump in and try it yourself? Let’s walk through the steps together!
Gather your supplies:
- DTF transfer sheets
- DTF powder
- A heat press (similar to an iron, but applies heat and pressure)
- Your favorite design
- DTF Printer or like i used a sublimation printer
- Butcher paper (optional, but helpful for catching excess powder)
- T-shirt (100% cotton or cotton blend works best)
Let’s get printing!
- DTF transfer sheet: If your printer doesn’t feed the sheet Place a regular piece of paper behind the DTF sheet before feeding it into your printer. This helps your printer recognize the material.
- Print your design: Now’s the fun part! Upload your design to your computer and print it onto the DTF transfer sheet using your sublimation printer.
- Heat things up: While your design is printing, pre-heat your heat press to 200°C (approximately 392°F).
- Powder power! This is where the magic happens. As soon as your design finishes printing, sprinkle DTF powder generously over the design. The key here is to act fast – you want the powder to adhere to the wet ink.
Top Tip: Use butcher paper underneath your design to catch any excess powder – you can easily pour it back into the jar later!
- Shake it off (kind of): Gently tap the transfer sheet to remove any loose powder. Don’t worry about being too precise; we’ll be heating it next.
- Cure the design: Place the DTF transfer sheet (with the design facing down) on your heat press, but don’t clamp it shut yet. Let it sit for a couple of minutes. The powder will melt and blend seamlessly with the ink, creating those vibrant colors we saw earlier.
- Repurpose and recycle: While the design cures, pour the excess powder back into its jar. No waste here!
- Prepare your t-shirt: Give your shirt a quick press with the heat press for a few seconds. This removes any extra moisture and ensures the design adheres better.
- Positioning is key: Place your DTF design exactly where you want it on the pre-heated shirt.
- Press it on! Apply firm pressure with your heat press for 15 seconds at 200°C.
- Patience is a virtue: Let the shirt cool down completely before peeling off the DTF transfer sheet. This is crucial for the design to stick properly.
- The big reveal! Slowly and carefully peel the DTF transfer sheet from the shirt. And there you have it – your very own custom t-shirt creation!
- Press it one more time for 15 seconds at 200°C.
- Setting the design: For the best results, wait 24 hours before washing your masterpiece.
Related Posts
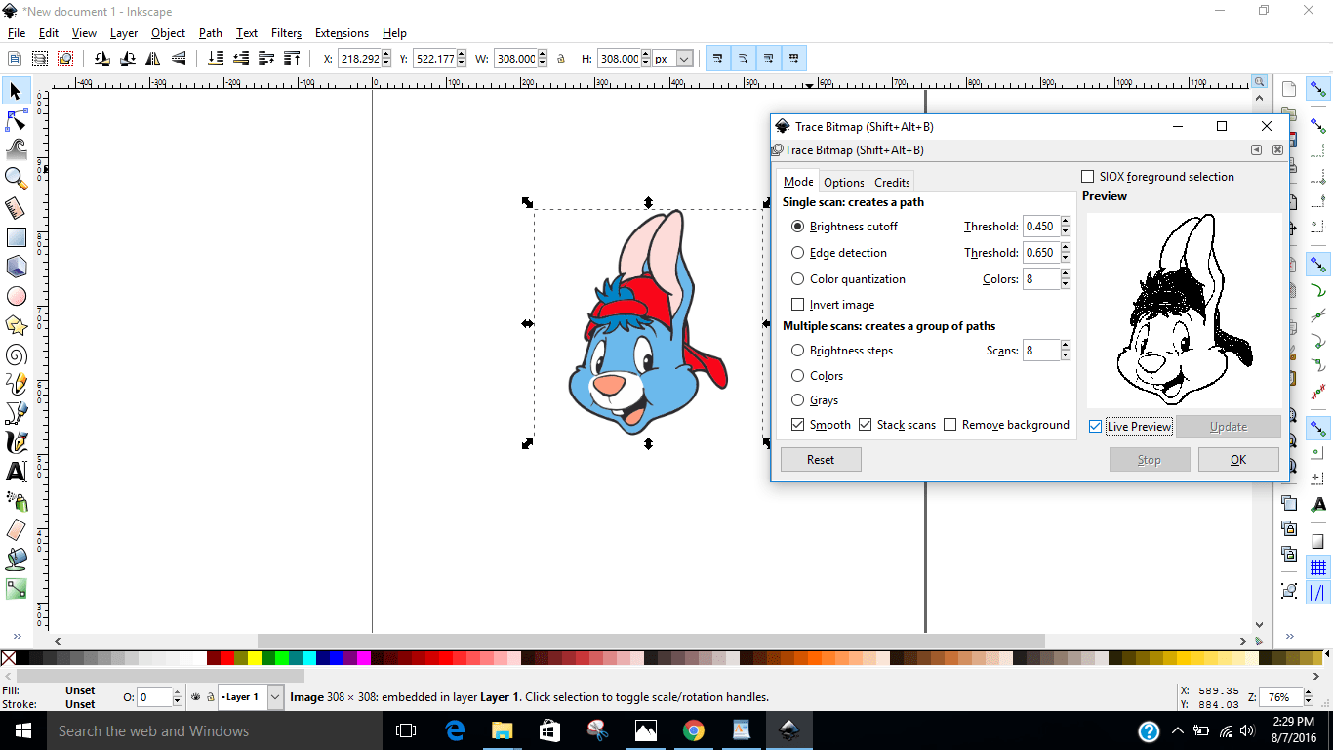
How to trace an image to make a cut file
Most important when you want to make a cut file it needs to be svg ( which you can make or buy) or fcm this is a scanncut only file.…
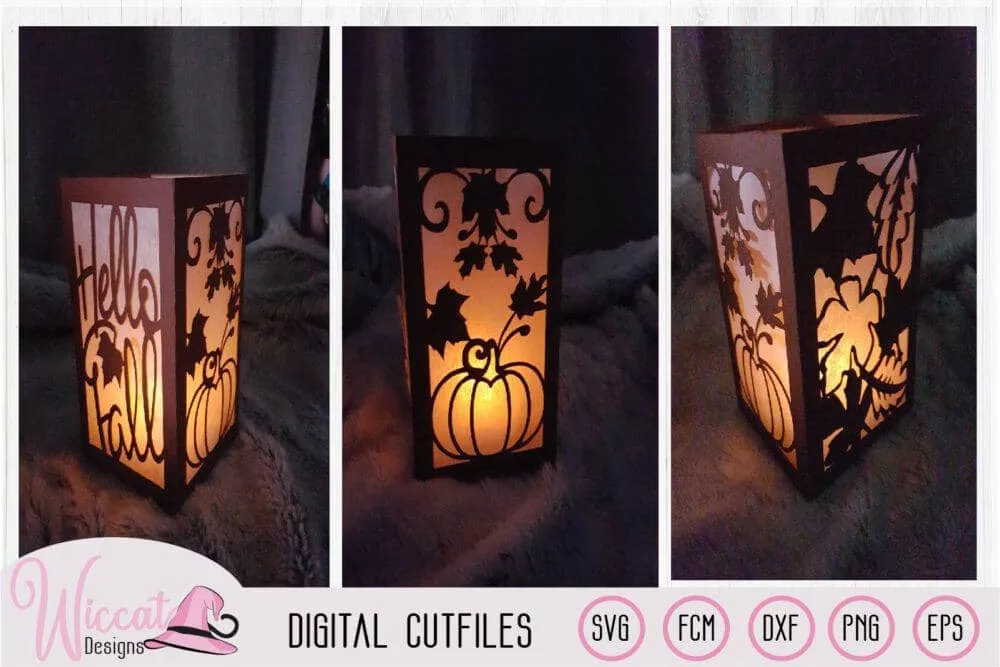
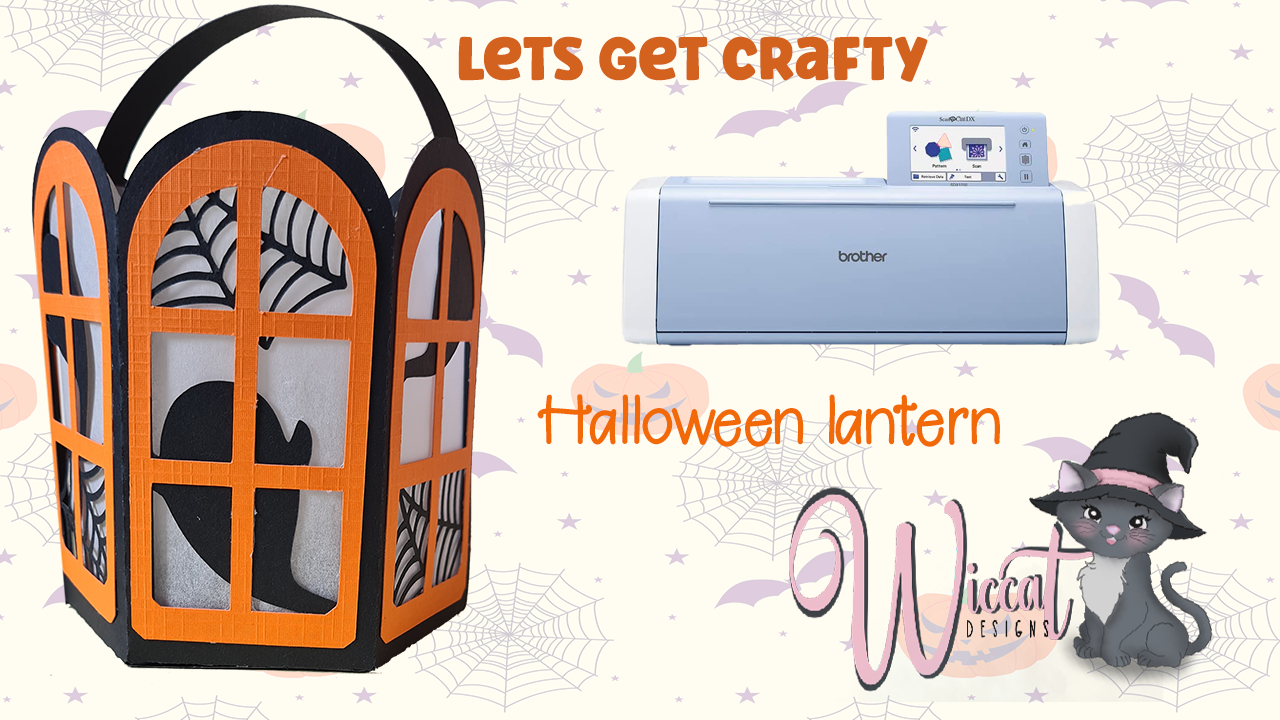
Cute Lanterns for Fall and Halloween
https://youtu.be/3nX9biDnLiE The time has come to make our home cosy as the fall is knocking on our doors. Fall and especially Halloween is my favorite time of the year. So…