What do you need
Cardstock paper
Double adhesive tape or glue
Gel pens if you want to use the draw funtion with your cut machine
Scanncut ( universal holder), Silhouette of cricut
A little light on batteries for inside the lantern
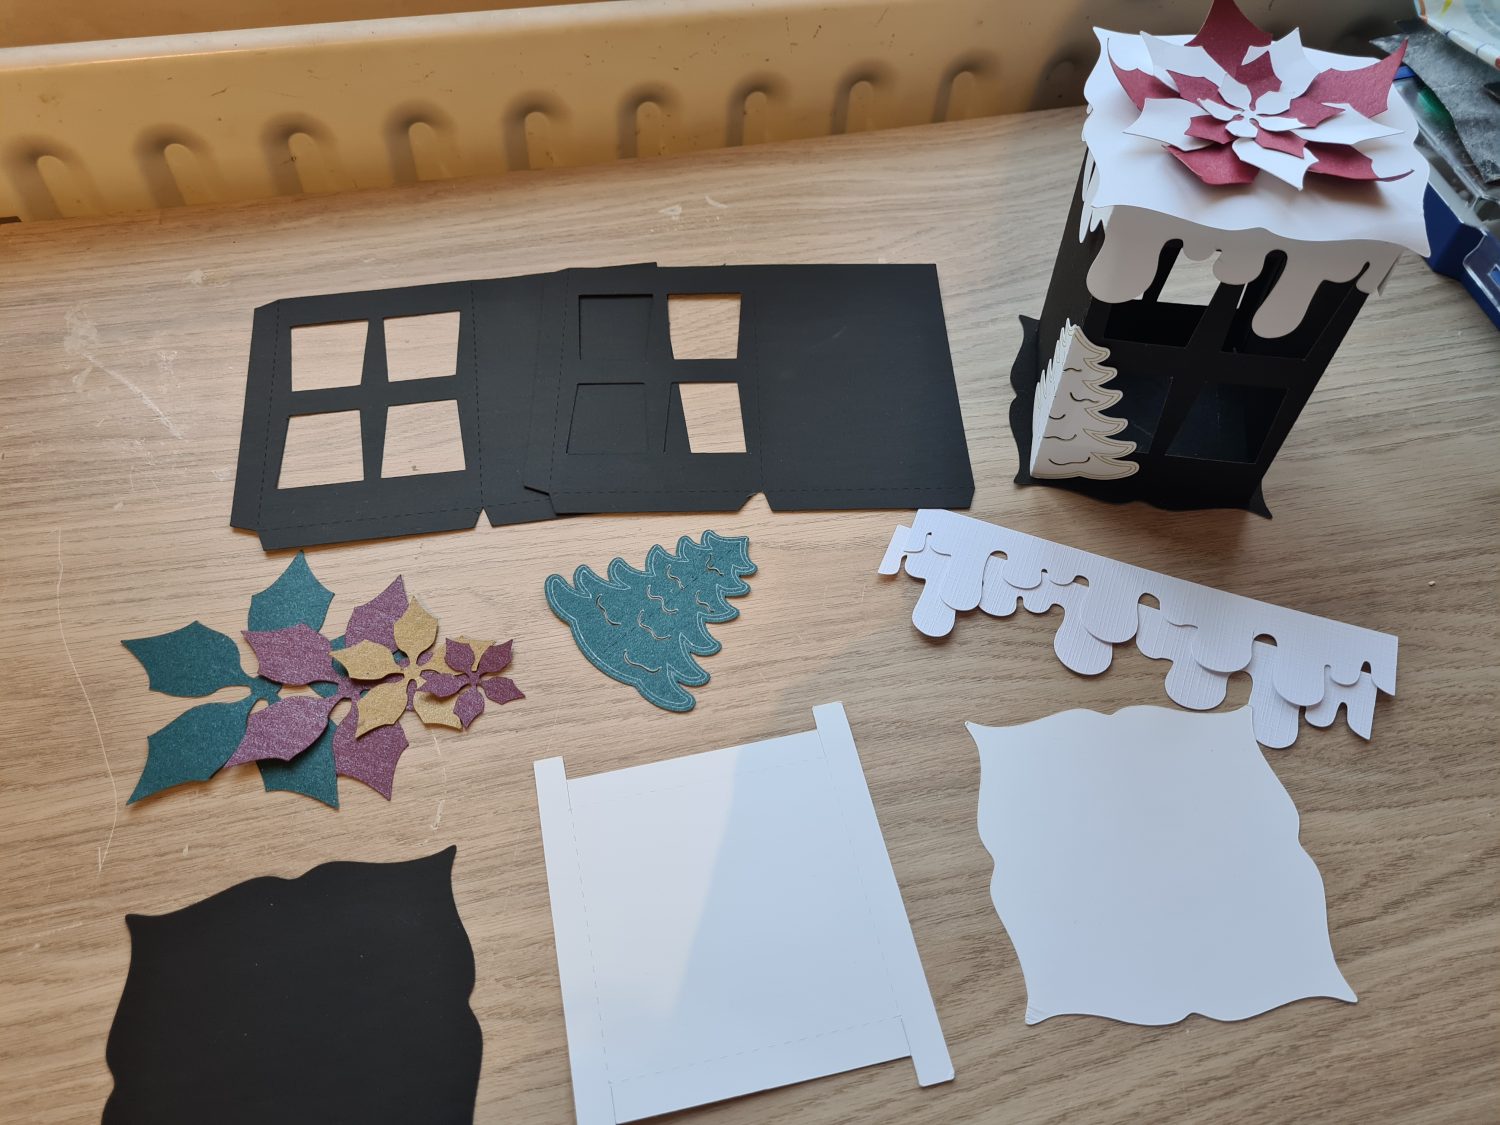
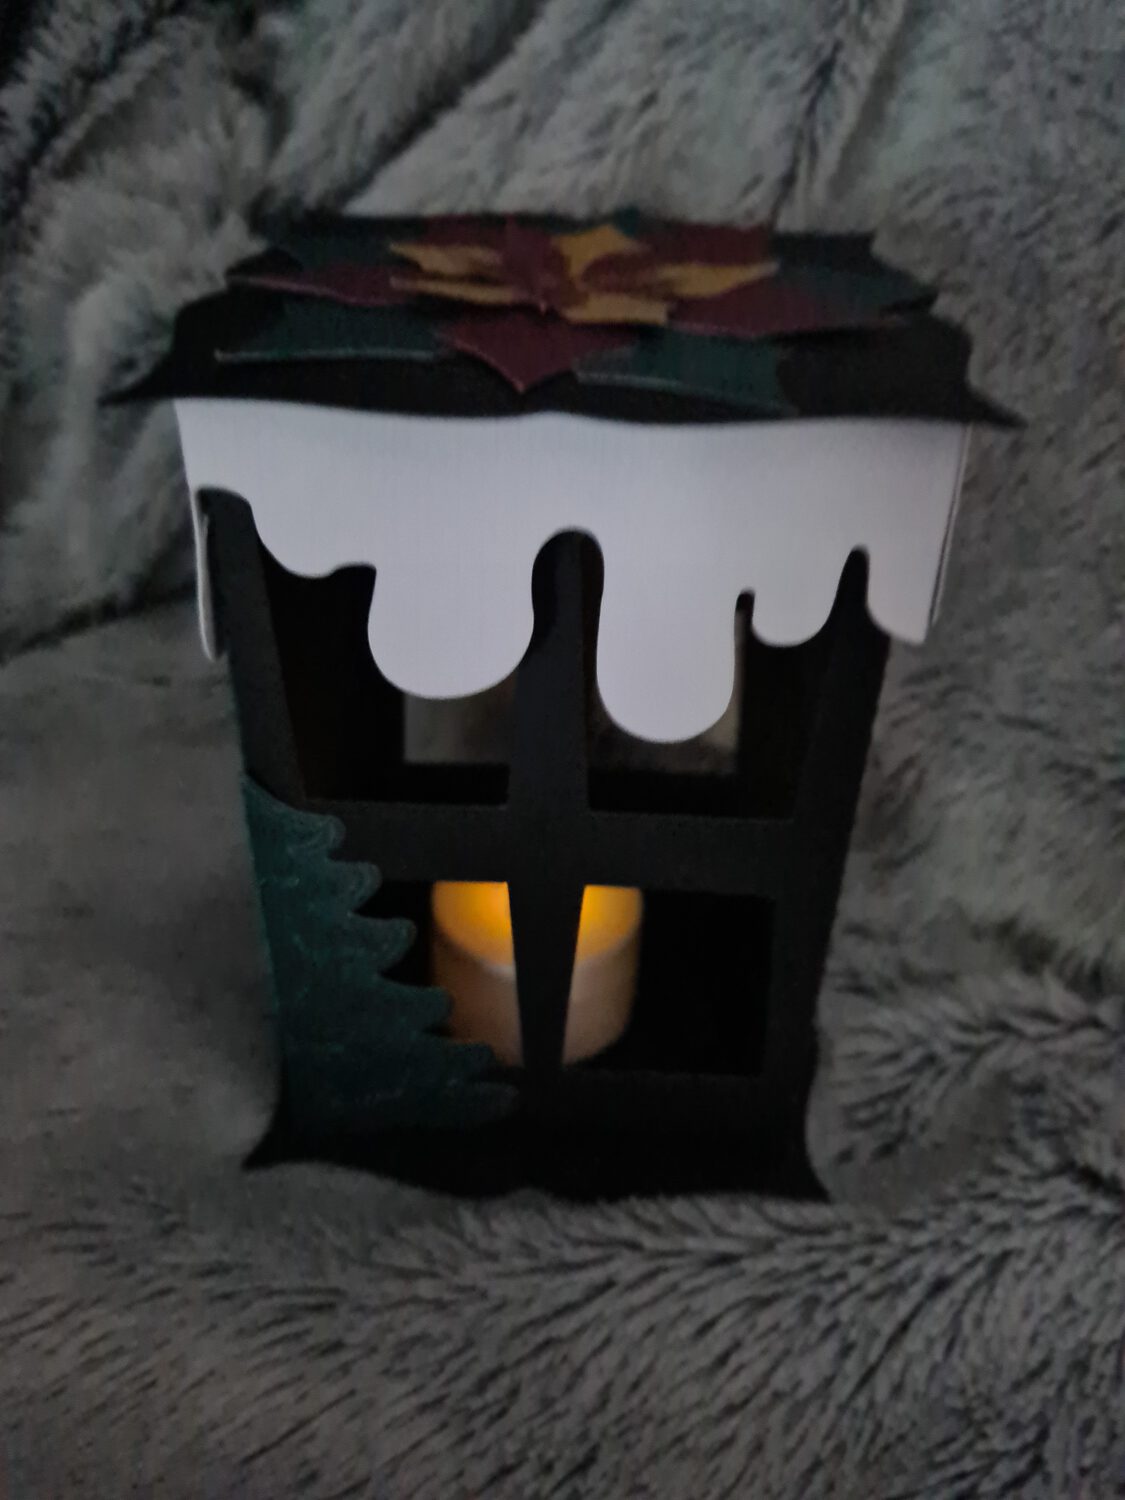
The lantern is made in 2 parts the bottom (everything that is black on the picture) and the top ( which you can remove to put a light in/ all the white parts)
We will start with the bottom
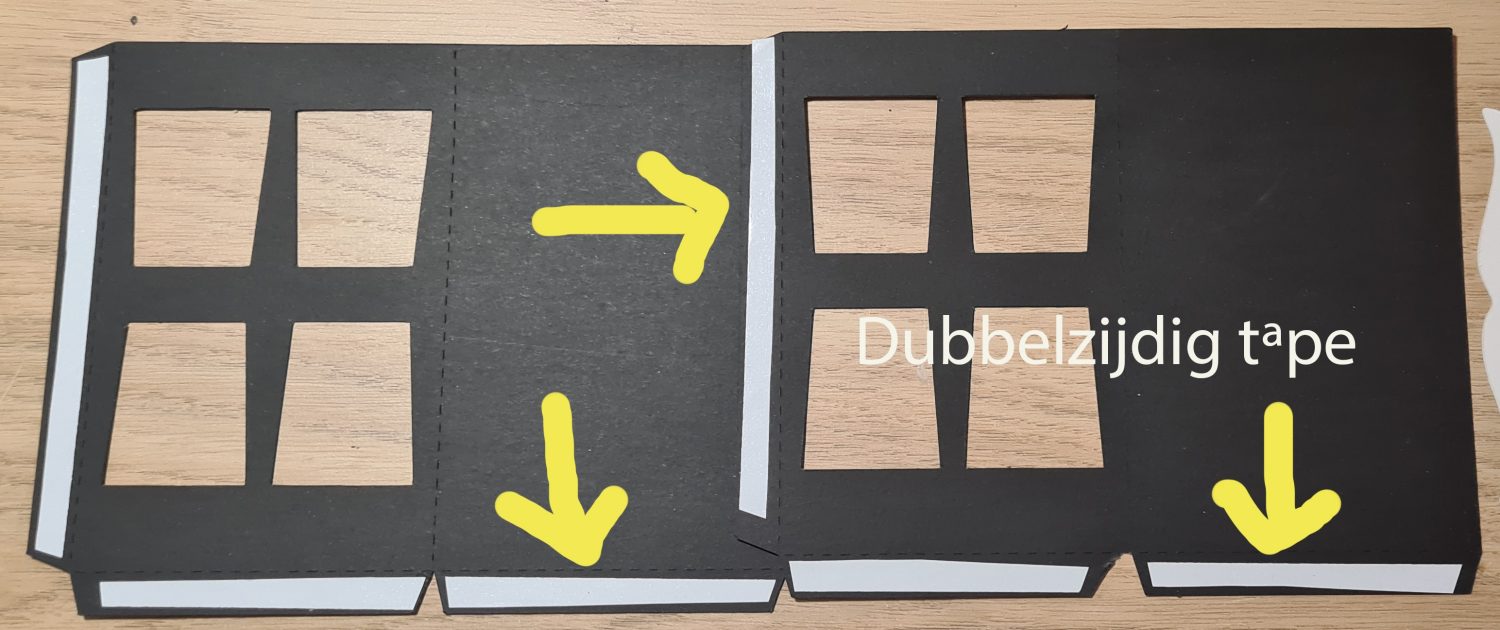
Put the adhesive tape like in the picture and stick the long sides together. Stick the 4 short sides to the black square. Now the bottom is finished.
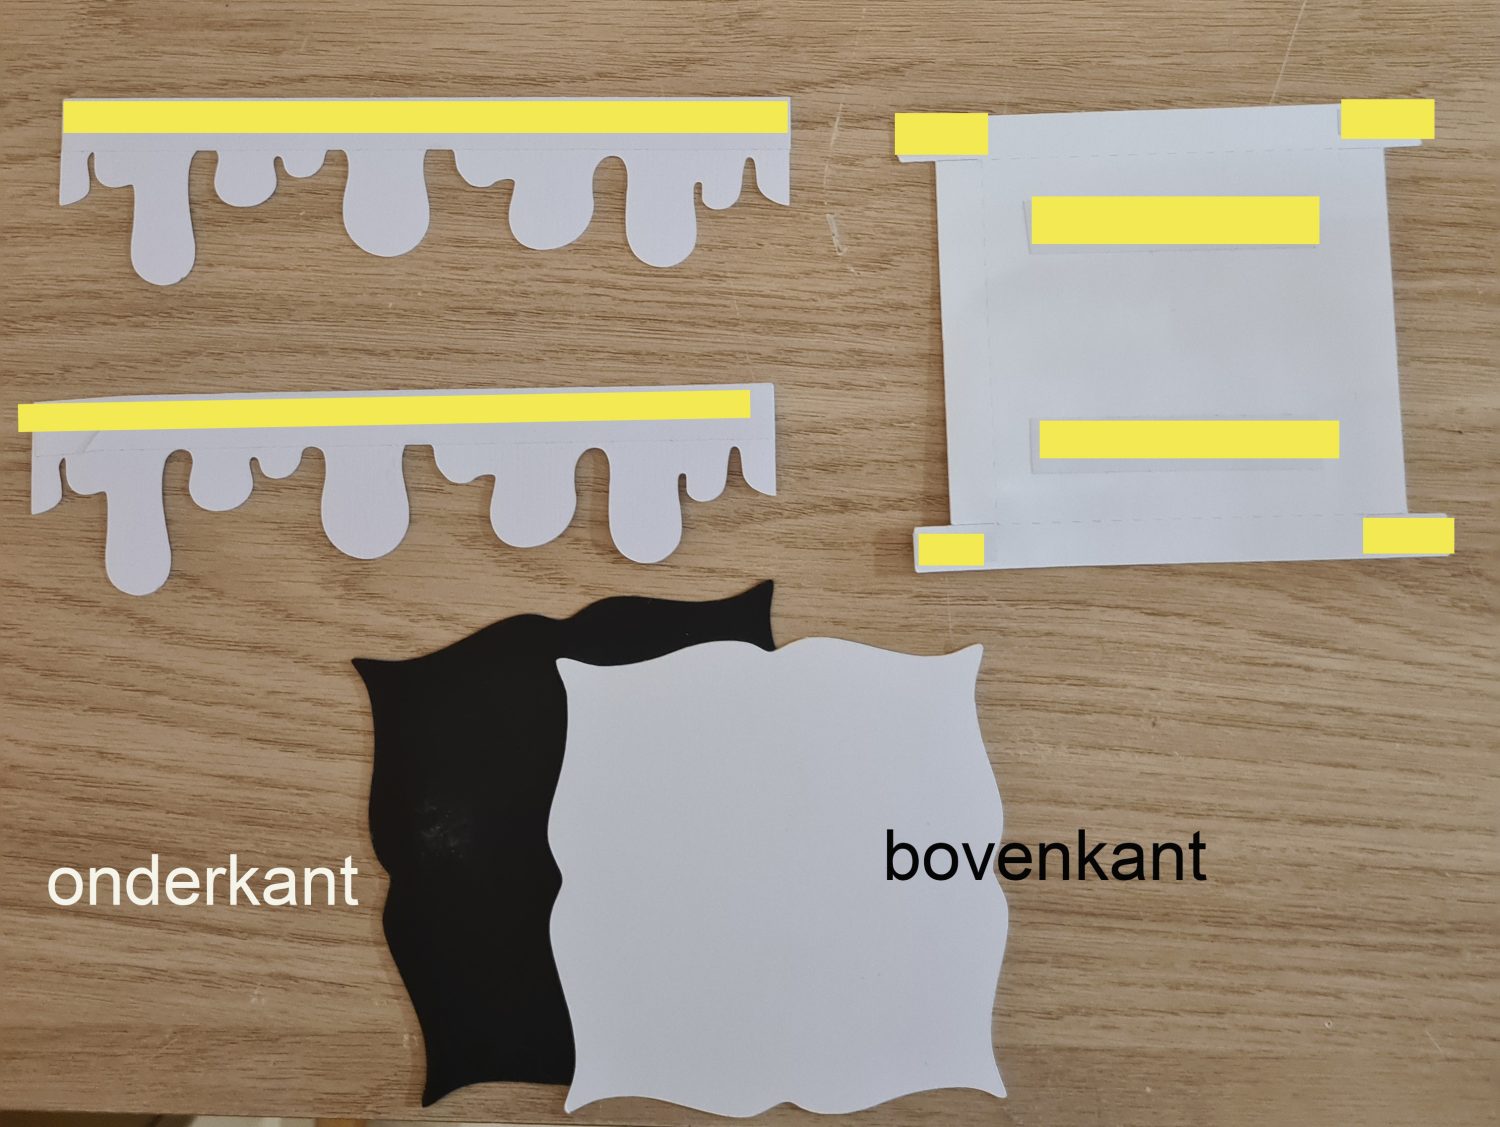
Lets make the top now
Put the double adhesive tape on the white parts like the picture.
Stick the corners on the inside border.
Now you have the top. Now put the tape on the white snow parts. Stick those around the top border. Now you only have to put te white square on top. Now your lantern is ready to decorate.
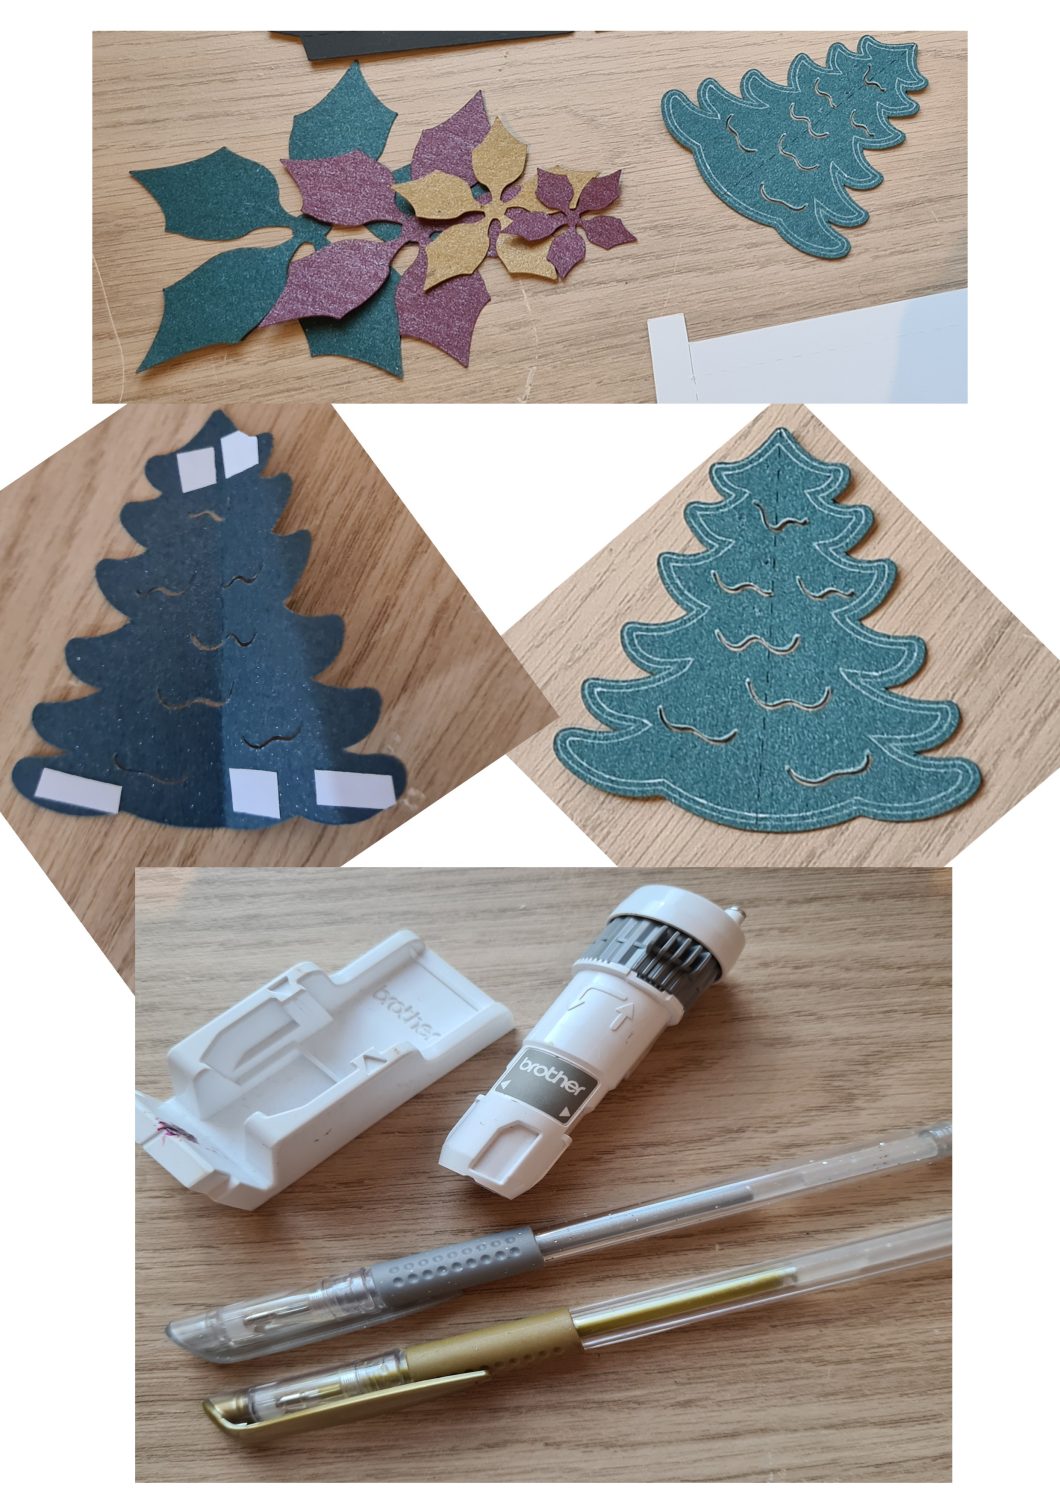
The tree is drawn with the draw function on the brother scanncut. I used glitter gel pens.
The tree can be put on the corner of the lantern or at the side. The winter flower you put to gether by size and you can put it on top.
You can add your own decorations if you like of course.
I would love to see your creations of this lantern so if you post it tag wiccatdesigns or mail me a picture and i wil post it on my page.
Related Posts
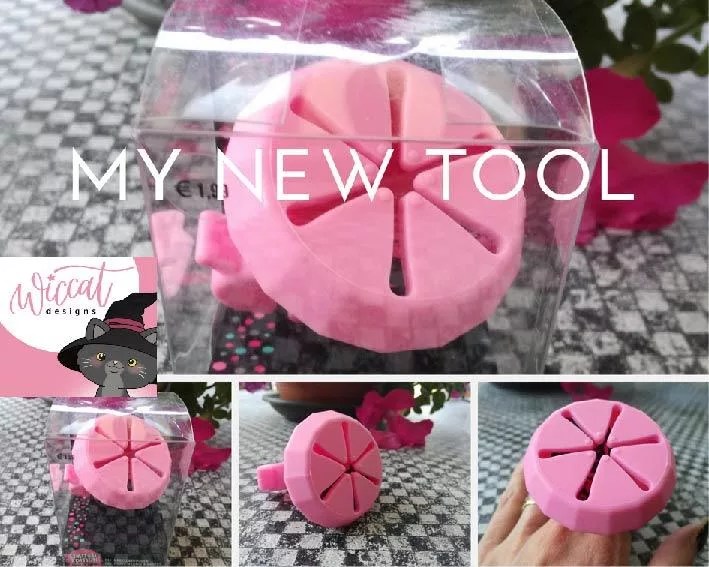
My weeding tool
I like weeding a lot ( yes i know most people think i am crazy) But i also like to make things as easy as possibleWhen i use to weed…