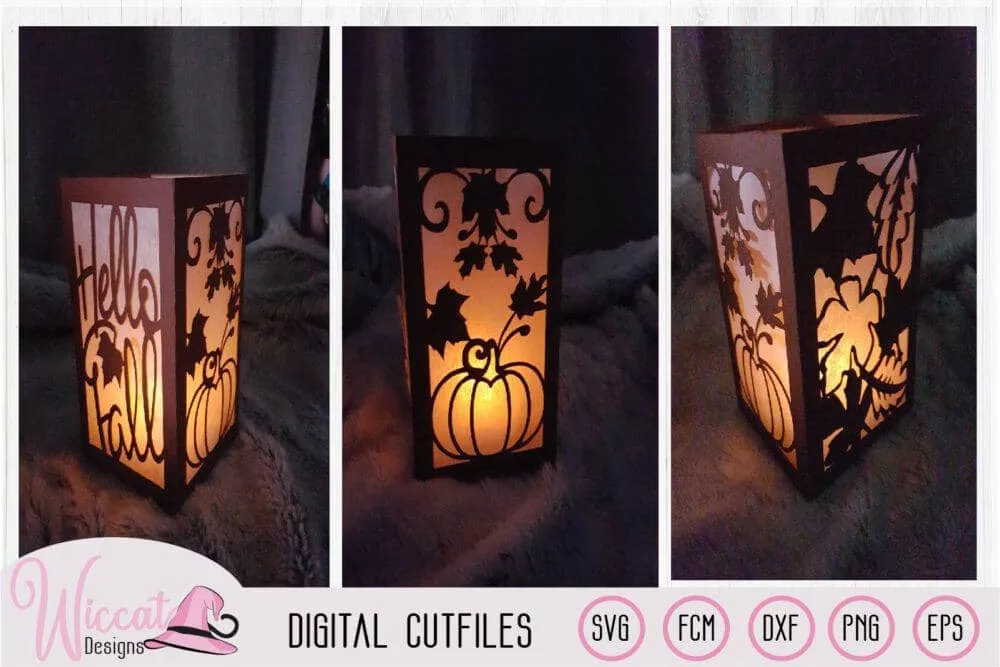
Creating your own personalized candy boxes is a fun and rewarding way to add a touch of elegance and thoughtfulness to your gift-giving. Whether you’re crafting a small box for a friend’s birthday or a party favor for a special occasion, these simple yet elegant boxes are sure to delight and impress.
Gather Your Supplies
Before you begin, ensure you have the following materials:
- Digital design file for the candy box (can be found online or created using your cutter’s design software)
- Cardstock or other desired material for the box
- Cricut, Scanncut, or Silhouette cutting machine
- Paper trimmer or scissors
- Glue
Creating the Candy Box
- Prepare the Design File: Upload or create the desired design file for your candy box. Make sure the file is compatible with your cutter’s software.
- Resize the Design: If necessary, resize the design to fit the desired dimensions for your candy box.
- Import the Design to Your Cutter: Open the design file in your cutter’s design software and follow the instructions to import the file.
- Set Cutting Settings: Adjust the cutting settings based on the material you’ll be using. For cardstock, a medium pressure and deep cut setting are typically sufficient.
- Cut the Material: Load the selected material into your cutter’s cutting mat and carefully guide the machine through the cutting process.
- Fold and Glue the Box: Carefully fold the box pieces along the score lines and adhere them together using glue.
- Embellish as desired (optional): Add embellishments like ribbons, stickers, or decorative paper to personalize your candy box.
- Fill the Box with Candy or Other Treats: Fill your completed candy box with your favorite candies or treats and add a personalized message on the inside.


