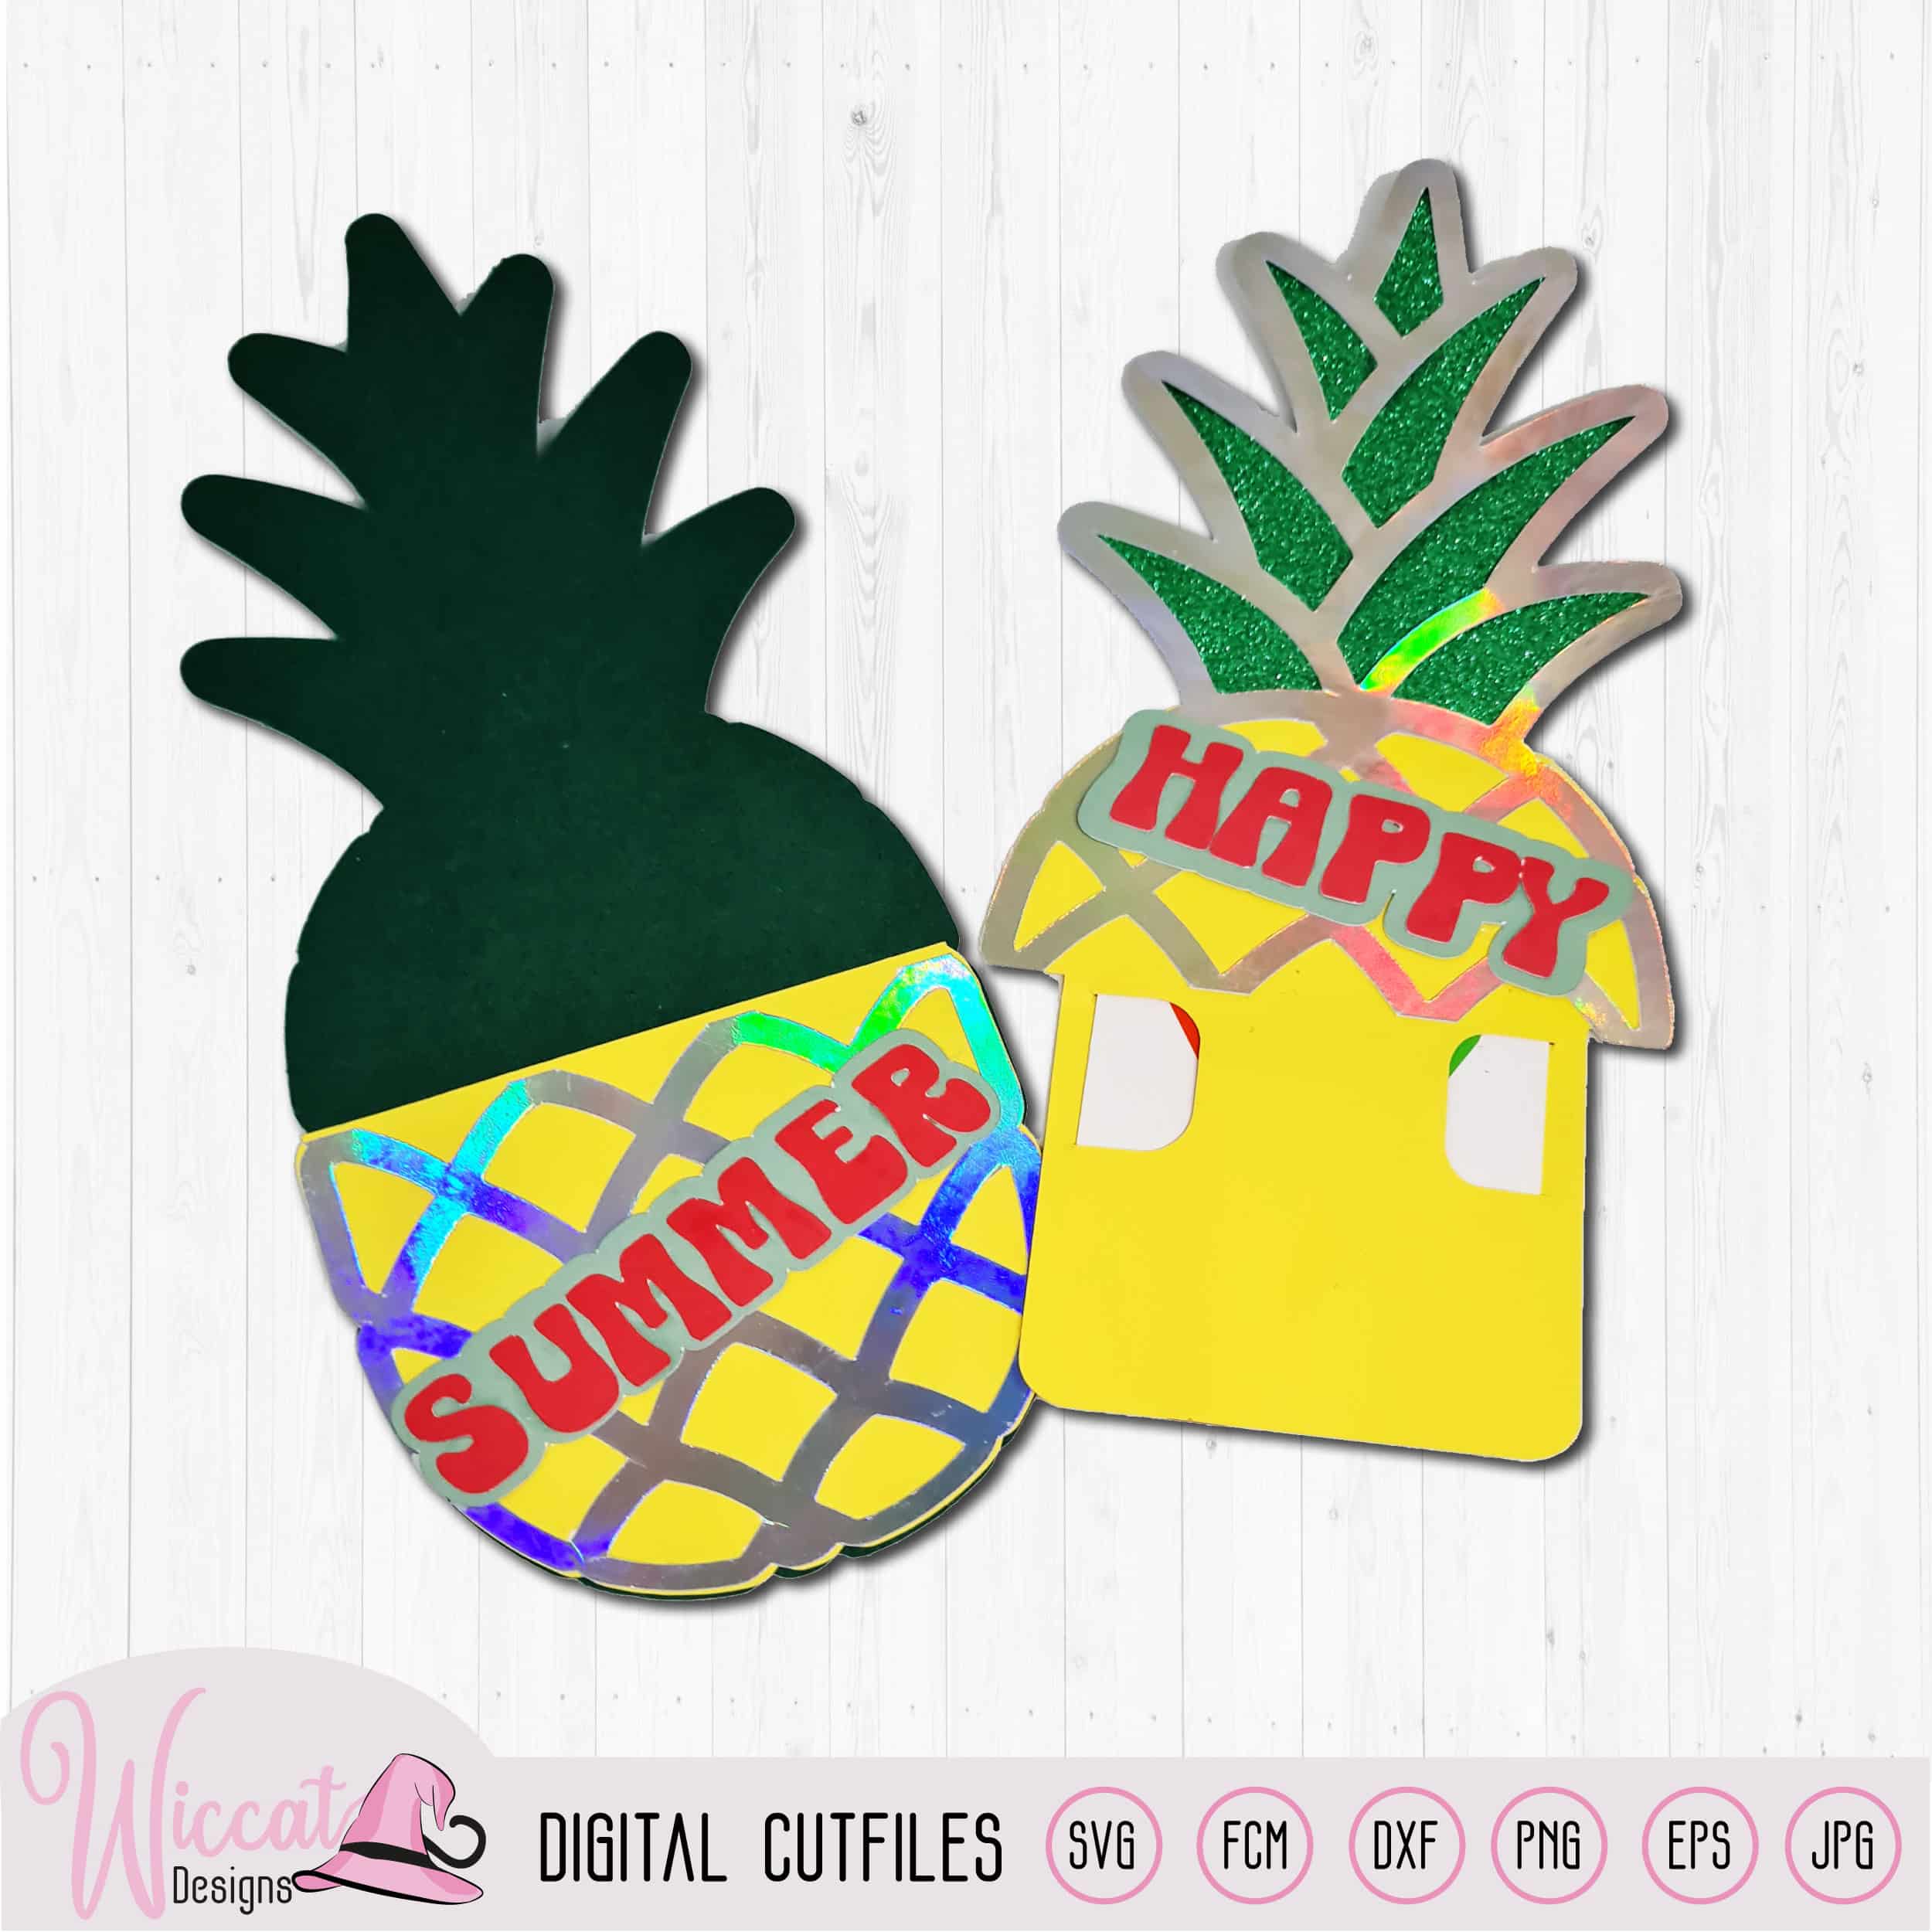
Creating personalized cards is a fantastic way to express your creativity and make special occasions even more memorable. Using cutting plotters like ScanNCut, Cricut, and Silhouette, you can easily cut out complex shapes and designs. In this step-by-step guide, we’ll show you how to create a charming pineapple-shaped card using one of these popular cutting plotters.
Required Materials:
- Cardstock in various colors
- Cutting machine (Cricut, Silhouette, or ScanNCut)
- Double-sided tape or glue
- Optional: colored pens or markers for extra details
Step 1: Design Preparation
Start by selecting or creating a pineapple card design in your cutting machine’s software. You can find my file here. Ensure that the design is the desired size.
Step 2: Loading and Setting Up the Material
Place a sheet of cardstock on the cutting mat and make sure it’s securely attached to prevent shifting during cutting.
Follow your cutting plotter’s instructions to load the mat correctly and detect the material.
Step 3: Assembling the Pineapple Patterns
Carefully remove the cut cardboard pieces from the mat.
Fold the base along the fold line or dotted line.
Layer the flower pieces on top of each other and attach the letters to their corresponding shadows.
Now you can arrange everything in the correct order on the front of the card.
For visual instructions, follow my instructional video available here.


